The Bridge River, BC
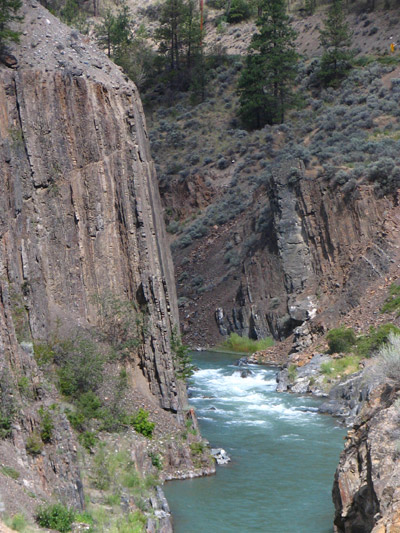
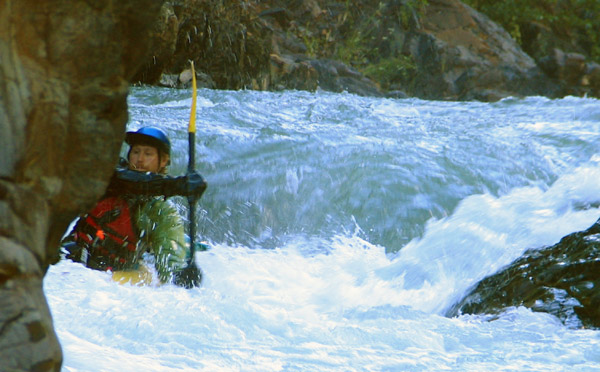
The dramatic canyon scenery of the Bridge River, BC.
After last year's run of the 16 mile Bridge, we deemed it worthy of an annual repeat float. This year, we opted to go a month earlier. We were rewarded with double the flow, and the run was great fun. The majority of the is class III, but there are several great class IV drops and one easy V drop called Hard Hat. At least, the guidebooks claim it's V. It's more IV+, but you get the idea.
The run begins on the Yalokum, the free-flowing major trib of the dammed Bridge proper. The Yalokum offers some great continuous class III creeking from the put in bridge down to the confluence. The continuous water lasts another 1/4 mile, culminating ina fun easy class IV drop.
Joe boat scouts the Yalokum ledges.
After some fun drops, you'll arrive at the Coliseum. The main channel is a very steep boulder jumble. The rapid can be snuck by staying out to the right of the island, but you can scout from the island as well. We ran a fun class III+ route through the top half, then dropped through very narrow, undercut chutes in the IV+ bottom half. Good clean fun.
Below this rapid, you will see the most obvious evidence in the river corridor of the Jade mining history if the region.
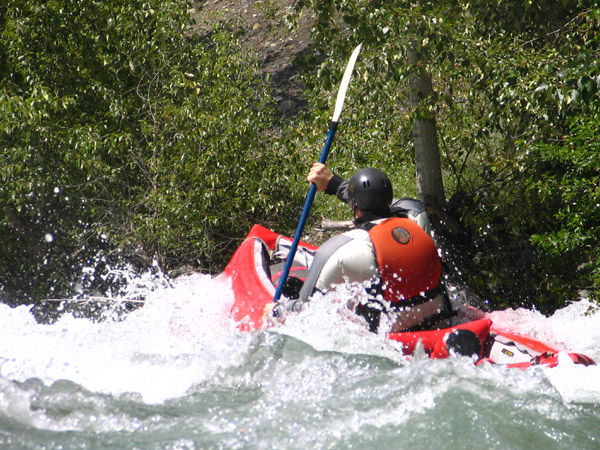
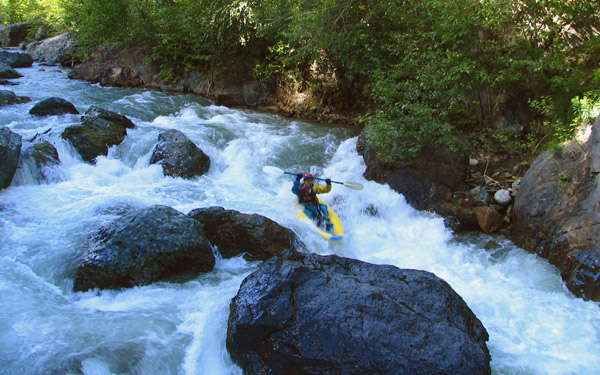
You also shortly come to Jade Drop, an excellent class IV rapid that offers three routes through a river-wide boulder fence. An s-turn route on the left is the easiest option, and can be boat scouted from an eddy on the left. The right channel is most straighforward, but offers a tricky lateral wave at the worst possible angle. This year, there was enough water for us to run the excellent center slot, a sweet 4' boof. Watch out, when we saw this route at lower flow, it landed on a rock.
Video: Jade Drop
Joe cleans the middle route in Jade Drop
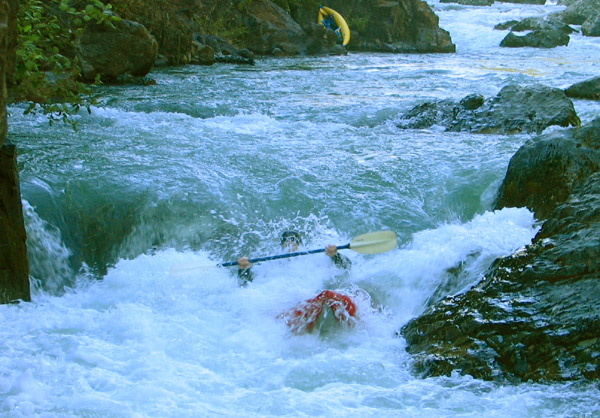
Below Jade, the Bridge offers lots of splashy class II and III. Somewhere in the next canyon section comes another of the Bridge's classic drops: Crane's Ledges. This was my first really class IV swim the year before, and I was excited to show this trivial little drop my improved brace.
Video: Crane's Ledges
Obviously things didn't work out my way. Guess we're going back next year!
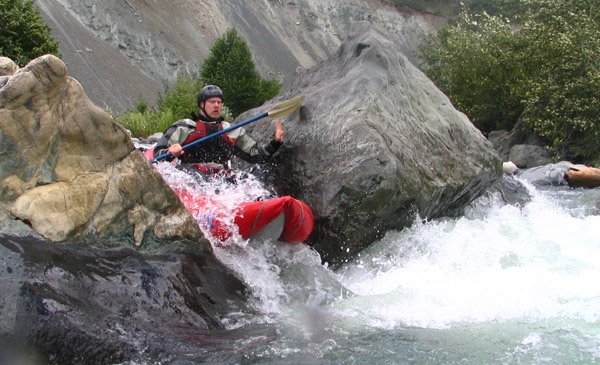
From here down, the Bridge continues through intermittent canyons. There's lots of steep class III to keep things fun, and some longer flatter sections. When the rock walls start to reemerge and conglomerate boulders litter the riverbed, you'll know you're entering the sweet lower third of the run. Here, class III rapids build quickly to IV as you pull into the eddy above Hard Hat.
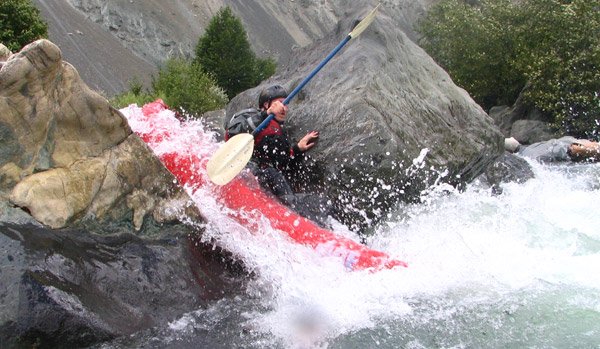
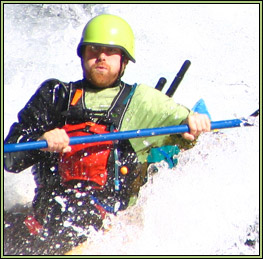
Nick cleans the left side of Hard Hat.
Joe powers through the top hole on the right side of Hard Had.
The author, working away from the right wall, Hard Hat.
Below Hard Hat, the Bridge continues with great pool-drop III-IV all the way down to the confluence with the Fraser. Though the run has its slow sections, this last finale is an excellent way to wind up the trip.
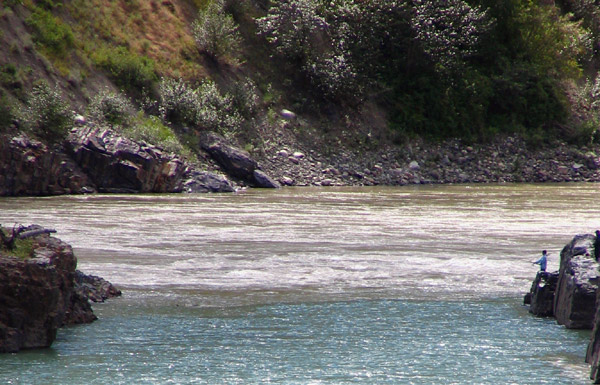
The confluence with the Fraser.
posted by slickhorn at 8:16 PM
![]()
![]()
<< Home